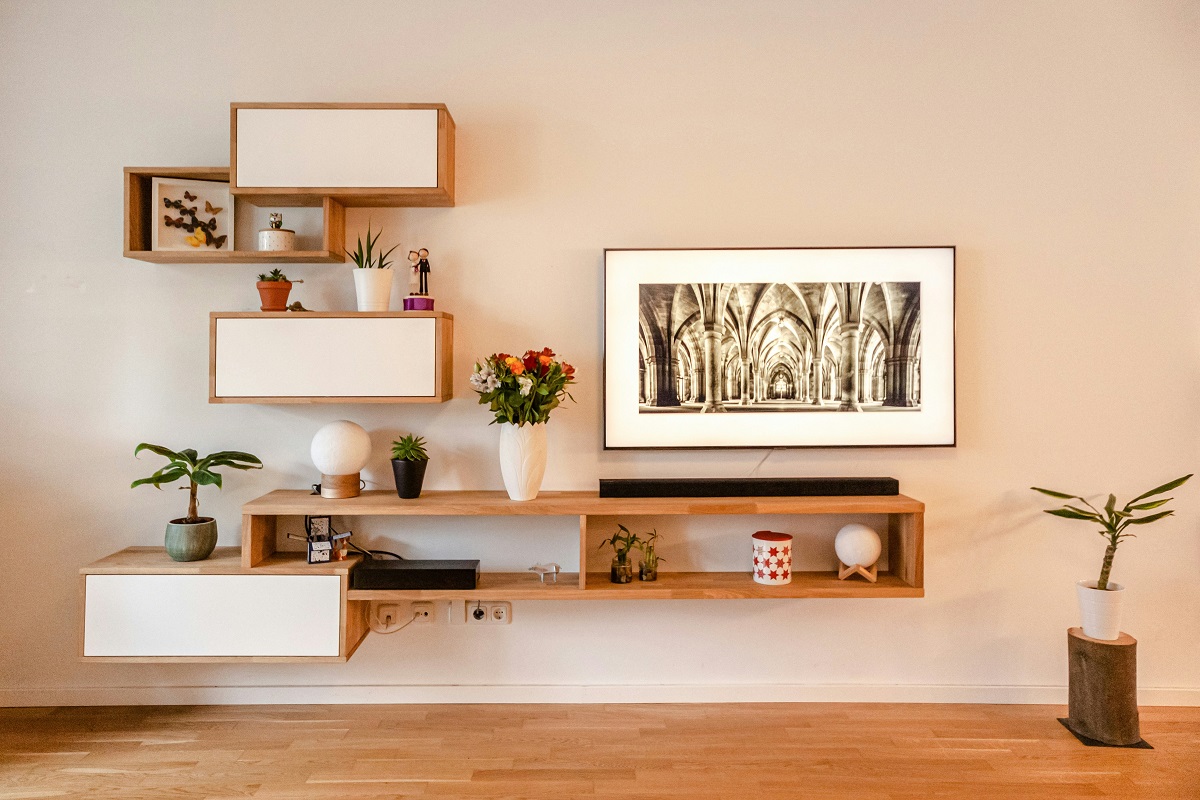
Highlights:
- Plan before you drill – Mock up your layout with painter’s tape and measure spacing (8-12 inches between shelves) to avoid crooked or awkward results.
- Match materials to your load – Solid wood, plywood, MDF, or metal each suit different budgets and weight needs; aim for at least three-quarter-inch thickness for heavier items.
- Always find your studs – Anchoring into studs gives the strongest hold, and quality wall anchors can fill in where studs don’t line up with your layout.
- Use a level at every stage – Double-checking alignment while marking, drilling, and mounting prevents uneven or sagging shelves later.
- Don’t overload your shelves – Check weight ratings on brackets and anchors, especially with floating shelf systems.
- Style with intention – Group items in odd numbers, vary heights and textures, and leave breathing room instead of overcrowding the shelf.
- Finish thoughtfully – Sanding edges and applying a proper wood finish makes the difference between a polished result and an unfinished-looking one.
If you’ve ever stood in a room staring at an empty wall wondering what to do with it, you’re not alone. Blank walls are basically wasted real estate, especially in homes where storage space feels like it’s always in short supply. Building your own shelves is one of the most satisfying weekend projects you can take on, and the payoff is huge: more room for your books, plants, or favorite knickknacks, plus a genuine style upgrade for the whole room. The best part is that you don’t need to be a professional carpenter to pull this off. With the right tools, a little patience, and some basic know-how, you can build shelves that look like they came straight out of a design magazine.
This guide walks you through everything from picking materials to mounting your finished shelves securely, so let’s get into it.
Why Wall Shelves Are Worth the Effort
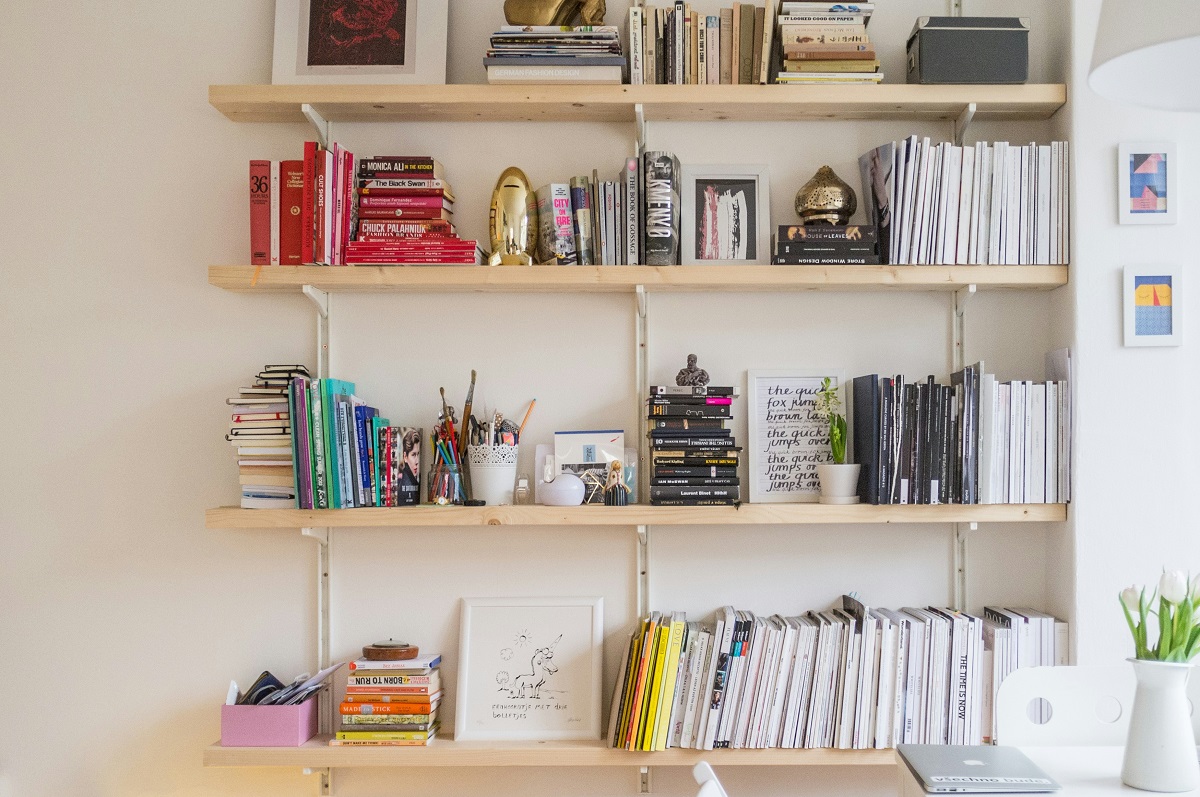
Before grabbing your drill, it helps to understand why this project is such a smart investment of your time. Wall shelves do more than hold stuff. They change how a room feels and functions.
Here’s what you gain when you add shelving to your space:
- Extra storage without eating into your floor space, which is huge for smaller rooms or apartments
- A chance to display things you love, like framed photos, plants, or a favorite vinyl collection
- Added visual interest on walls that would otherwise feel flat or unfinished
- Flexibility, since floating shelves can be rearranged or added to over time
- A cost-effective alternative to buying bulky furniture like bookcases or cabinets
Once you start looking at your walls as usable space instead of just background, you’ll probably find several spots in your home that could use a shelf or two.
Planning Your Shelf Layout Before You Build
Jumping straight into building without a plan is a rookie mistake that leads to crooked shelves, awkward spacing, or a design that just doesn’t work with the room. Take some time upfront to figure out what you actually need.
Start by asking yourself a few questions. What will the shelves hold? Books are heavier than decorative vases, so your weight requirements will shape your material and bracket choices. How much space do you have to work with, and how many shelves do you want to fit into that area? Do you want a symmetrical, gallery-style layout, or something more organic and staggered?
Grab a tape measure and some painter’s tape to mock up your layout directly on the wall. This step feels a little tedious, but it saves you from drilling holes you’ll regret. Step back and look at the mockup from across the room, and even snap a photo, since photos often reveal spacing issues your eyes might miss in person.
A few layout tips worth keeping in mind:
- Leave at least 8 to 12 inches between shelves if you’re stacking books or larger items
- Stagger shelf lengths for a more dynamic, less boxy look
- Keep shelves at a comfortable reach height, generally between 12 and 60 inches off the floor for everyday items
- Align shelves with existing furniture or architectural features, like door frames or windows, for a cohesive look
Choosing the Right Materials for Your Shelves
Your material choice affects everything from the shelf’s weight capacity to how it fits into your room’s overall vibe. There’s no single “best” option here, it really depends on your budget, skill level, and design goals.
- Solid wood is the classic choice for a reason. It’s sturdy, looks great with a simple finish, and can be sanded or stained to match almost any decor style. Pine, oak, and walnut are popular options, with oak and walnut sitting at the higher end of the price range.
- Plywood is a budget-friendly alternative that still holds up well structurally. With a painted edge or a nice veneer, it can look surprisingly polished for the price.
- MDF (medium-density fiberboard) works great for painted shelves since it has a smooth surface, but it’s not ideal for heavier loads since it can sag over longer spans.
- Metal brackets with wood or metal shelving give you an industrial look that’s trending hard right now, especially in kitchens and home offices.
- Floating shelf kits are pre-made units with hidden hardware, perfect if you want a clean, minimalist look without visible brackets.
Whatever material you land on, make sure it’s thick enough for its intended use. A good rule of thumb is at least three-quarter-inch thickness for anything holding books or heavier decor.
Gathering the Tools You’ll Need
You don’t need a fully stocked workshop to build wall shelves, but having the right tools on hand makes the whole process smoother and safer. Here’s a basic list to work from:
- Stud finder, to locate the framing behind your drywall
- Level, for making sure your shelves sit perfectly straight
- Drill and drill bits, including a bit sized for your wall anchors if you’re not hitting a stud
- Tape measure and pencil, for marking placement accurately
- Screwdriver or driver bit
- Wall anchors, for spots where you can’t hit a stud directly
- Shelf brackets or hidden mounting hardware, depending on your chosen style
- Sandpaper and wood finish, if you’re building shelves from raw lumber
- Safety glasses, especially if you’re cutting wood yourself
If you’re cutting your own shelf boards to length rather than buying pre-cut pieces, a circular saw or a miter saw will make quick, clean work of it. Many hardware stores will also cut lumber to size for you at the counter, which is a great option if you don’t own power tools.
Finding Studs and Marking Your Mounting Points
This step is where a lot of DIY projects go wrong, so it deserves extra attention. Shelves that aren’t anchored properly can pull away from the wall over time, especially once you start loading them up with books or heavier items.
Run your stud finder along the wall where you plan to mount the shelf, marking each stud location lightly with a pencil. Studs are typically spaced 16 inches apart, so once you find one, you can often estimate where the next ones will be. Whenever possible, anchor your shelf brackets directly into studs since this gives you the strongest hold.
If your ideal shelf placement doesn’t line up with the studs, don’t panic. Quality wall anchors rated for the weight you’re planning to hold can do the job just fine in drywall alone. Just be sure to check the weight rating on the anchor packaging and choose accordingly, especially for anything holding a lot of books or heavier decorative objects.
Once you’ve located your mounting points, use your level to draw a straight horizontal guideline across the wall. This line will keep your shelf brackets aligned as you install them, which is especially important if you’re installing more than one shelf and want them to look uniform.
Installing the Brackets and Shelf
With your layout marked and your studs located, it’s time for the actual installation. This part goes surprisingly fast once the prep work is done.
Start by holding your bracket against the wall, lined up with your pencil marks, and mark the exact screw hole positions. Drill pilot holes at these marks, either directly into the stud or using your wall anchor if you’re mounting between studs. Screw the bracket securely into place, then use your level again to double check that it’s sitting straight before moving on to the next one.
Once all your brackets are mounted and leveled, set your shelf board on top and secure it according to your bracket’s instructions. Some brackets require screws driven up through the bottom of the shelf, while floating shelf systems often use a hidden rod or bracket system that slides into a routed channel in the shelf itself.
If you’re doing a full DIY build rather than using a kit, this is where materials matter just as much as tools. Many homeowners look for upgrades that blend style and function when tackling shelving projects, since the goal isn’t just to add storage but to make the whole wall feel intentional and well-designed. Choosing quality brackets and finishing your wood properly goes a long way toward that goal.
Give everything one more once-over with your level, and gently test the shelf’s stability by pressing down on it before loading it up with your items.
Styling Your New Shelves
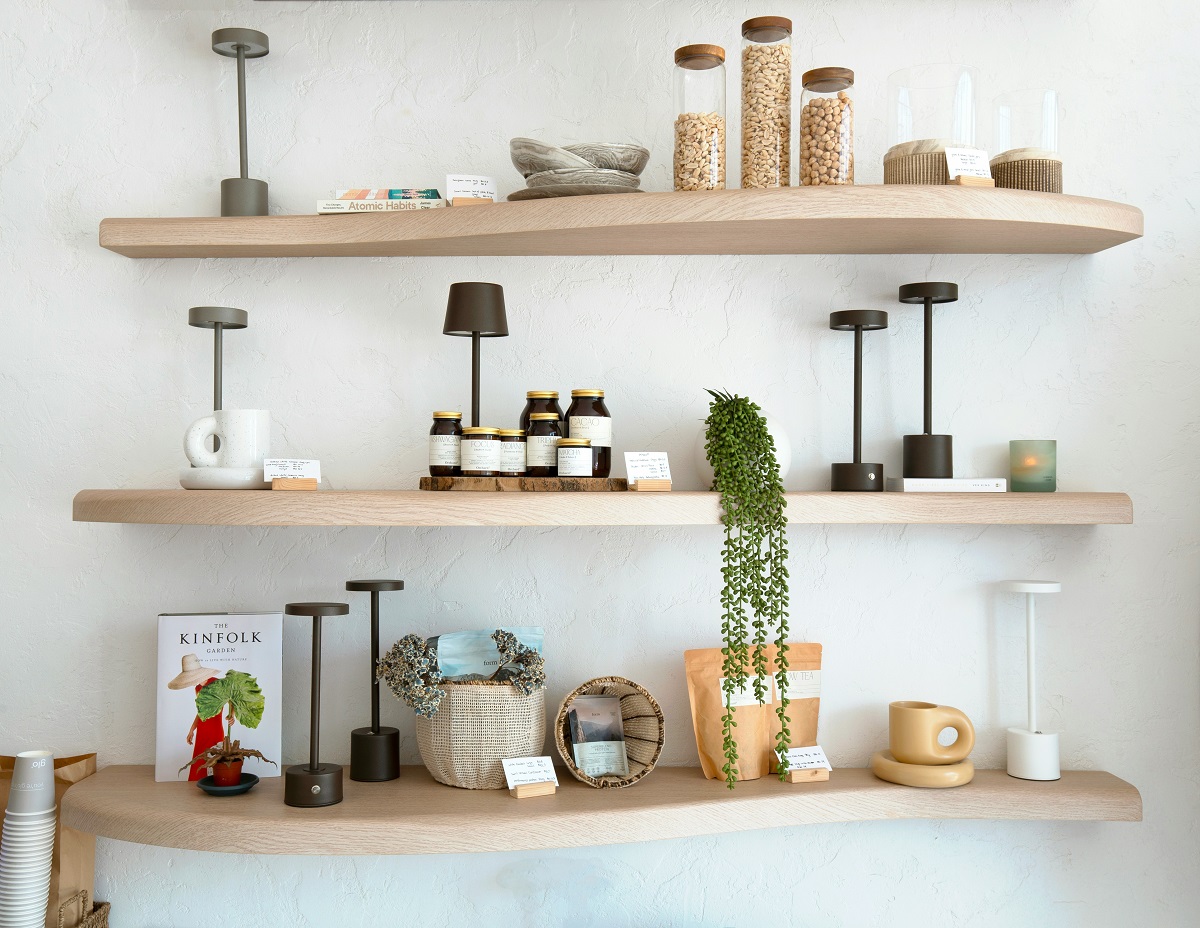
Now for the fun part. Once your shelves are securely mounted, it’s time to fill them with things that make the space feel like yours. Good shelf styling isn’t about cramming every inch full, it’s about creating a balanced, visually interesting arrangement.
A few styling principles that tend to work well:
- Group items in odd numbers, like threes or fives, for a more natural, less rigid look
- Vary heights and shapes, mixing tall items like vases with shorter stacks of books
- Add texture through different materials, such as ceramic, woven baskets, or metal accents
- Leave some breathing room rather than filling every available inch
- Layer items in front of each other for depth, like leaning a small framed print against the wall behind a plant
Try turning some books sideways in small stacks and using them as a base for a small sculpture or candle. This kind of layered styling gives your shelves a curated, lived-in feel rather than looking like a display case.
Common Mistakes to Avoid
Even with a solid plan, a few common missteps can trip up an otherwise great shelving project.
Skipping the stud finder is probably the biggest one. Relying on wall anchors alone for heavy loads, or worse, just using drywall screws with no anchor at all, is a recipe for shelves that eventually sag or fall. Another common issue is uneven spacing between multiple shelves, which can make the whole installation look sloppy even if each individual shelf is perfectly level. Always measure twice before drilling.
Overloading shelves beyond their weight rating is another mistake worth watching for, particularly with floating shelves that rely on hidden brackets. And don’t forget to double check your level readings, since even a slightly off shelf becomes really noticeable once it’s holding items with straight lines, like books or picture frames.
Lastly, resist the urge to rush the finishing touches. Sanding rough edges, applying a proper wood finish, and taking time with your final styling arrangement are what separate a shelf that looks handmade in a good way from one that looks unfinished.
Wrapping Up Your Shelf Project
Building shelves on a wall is one of those projects that feels intimidating before you start and incredibly rewarding once you’re done. With a good plan, the right materials, and careful attention to finding your studs, you can create a storage solution that’s both functional and genuinely good looking. Take your time with each step, from the initial layout to the final styling, and you’ll end up with shelves that feel like a natural, polished part of your home rather than an afterthought bolted onto the wall.